When analyzing large datasets over time, using a time-series database such as InfluxDB or TimeScaleDB is essential. AWS offers a managed service called TimeStream available in the following regions :
- us-gov-west-1
- ap-northeast-1
- ap-southeast-2
- eu-central-1
- eu-west-1
- us-east-1
- us-east-2
- us-west-2
In this article, we will cover how to:
- Deploy Timestream in serverless mode
- Populate a table with stream records
- Query the data with a simple SQL query
Project Creation
Comprehensive information about project creation can be found here in a dedicated post.
You now have a template.yml file in the sam-project folder, which we will edit.
Project Deployment
Open the template.yml file and add the following lines:
1AWSTemplateFormatVersion: 2010-09-09
2Description: >-
3  Create Timestream stack
4
5Transform:
6- AWS::Serverless-2016-10-31
7
8Conditions:
9  isDev: !Equals [ !Ref Stage, 'dev' ]
10
11Parameters:
12  Stage:
13    Type: String
14    Description: Stage of this environment
15    Default: "dev"
16
17Resources:
18  TimeStreamDatabase:
19    Type: AWS::Timestream::Database
20    Properties:
21      DatabaseName: timestream-database
22
23  S3Bucket:
24    Type: AWS::S3::Bucket
25    DeletionPolicy: Delete
26    Properties:
27      BucketName: s3-timestream-magnetic-store-rejected-data
28
29  TimeStreamTable:
30    Type: AWS::Timestream::Table
31    Properties:
32      DatabaseName: timestream-database
33      TableName: timestream-table
34      MagneticStoreWriteProperties:
35        EnableMagneticStoreWrites: true
36        MagneticStoreRejectedDataLocation:
37          S3Configuration:
38            BucketName: s3-timestream-magnetic-store-rejected-data
39            EncryptionOption: SSE_S3
40      RetentionProperties:
41        MagneticStoreRetentionPeriodInDays: !If [ isDev, '365', '730' ]
42        MemoryStoreRetentionPeriodInHours: !If [ isDev, '364', '72' ]
43      Schema:
44        CompositePartitionKey:
45          - EnforcementInRecord: REQUIRED
46            Name: userId
47            Type: DIMENSION
48    DependsOn:
49      - S3Bucket
With the following command, you will deploy three AWS resources:
IAM
Ensure yours credentials and IAM permissions include the following policies :
1{
2    "Sid": "TimestreamPolicy",
3    "Effect": "Allow",
4    "Action": [
5        "timestream:*"
6    ],
7    "Resource": [
8        "*"
9    ]
10},
11{
12    "Sid": "S3",
13    "Effect": "Allow",
14    "Action": [
15        "s3:*"
16    ],
17    "Resource": [
18        "arn:aws:s3:::*"
19    ]
20}
WARNING : These policies is not a best practice and should be adjusted according to your security requirements.
Deploy
Deploy the project with the following commands:
1sam build
2sam deploy --stack-name timestream-stack
Populate table
Prerequisites:
- Install the csv-parser library
- Install the @tsx for typescript execution locally
- Install the @aws-sdk timestream library
1cd hello-world
2npm i csv-parse -D
3npm i tsx -D
4npm install @aws-sdk/client-timestream-query -D
5npm install @aws-sdk/client-timestream-write -D
Now, create the data structure TimeStreamRecord according to your needs, For this example, we will use:
Three dimensions:
1- userId
2- userType
3- documentType
One value:
1- size (document file size)
Two measure names:
1- DOCUMENT_PUT
2- DOCUMENT_GET
1export type TimeStreamRecord = {
2    userId: string;
3    userType: string;
4    documentType: string;
5    size: number;
6    time: number;
7    measureName: TimeStreamMeasureName;
8};
9
10export enum TimeStreamMeasureName {
11    DOCUMENT_PUT = 'DOCUMENT_PUT',
12    DOCUMENT_GET = 'DOCUMENT_GET',
13}
14
You can build sample data with mockaroo to obtain this sample file:
File: sample.csv
1userId,userType,documentType,size,time,measureName
2a37e3311-3c49-46ae-bdff-7cf877968b45,CUSTOMER,INVOICE,83388,1710348922000,DOCUMENT_GET
3d2c76e6e-9232-41dc-820a-4762924821a2,CUSTOMER,QUOTATION,69918,1709040240000,DOCUMENT_GET
4bda1f773-3c4b-4433-83ab-84f00c1506f2,SUPPLIER,QUOTATION,93095,1720069220000,DOCUMENT_PUT
5...
Finally, run the script populate.ts:
1npx tsx populate.ts
2...
3Result 1001
4Ingested 1000 TimeStreamRecord
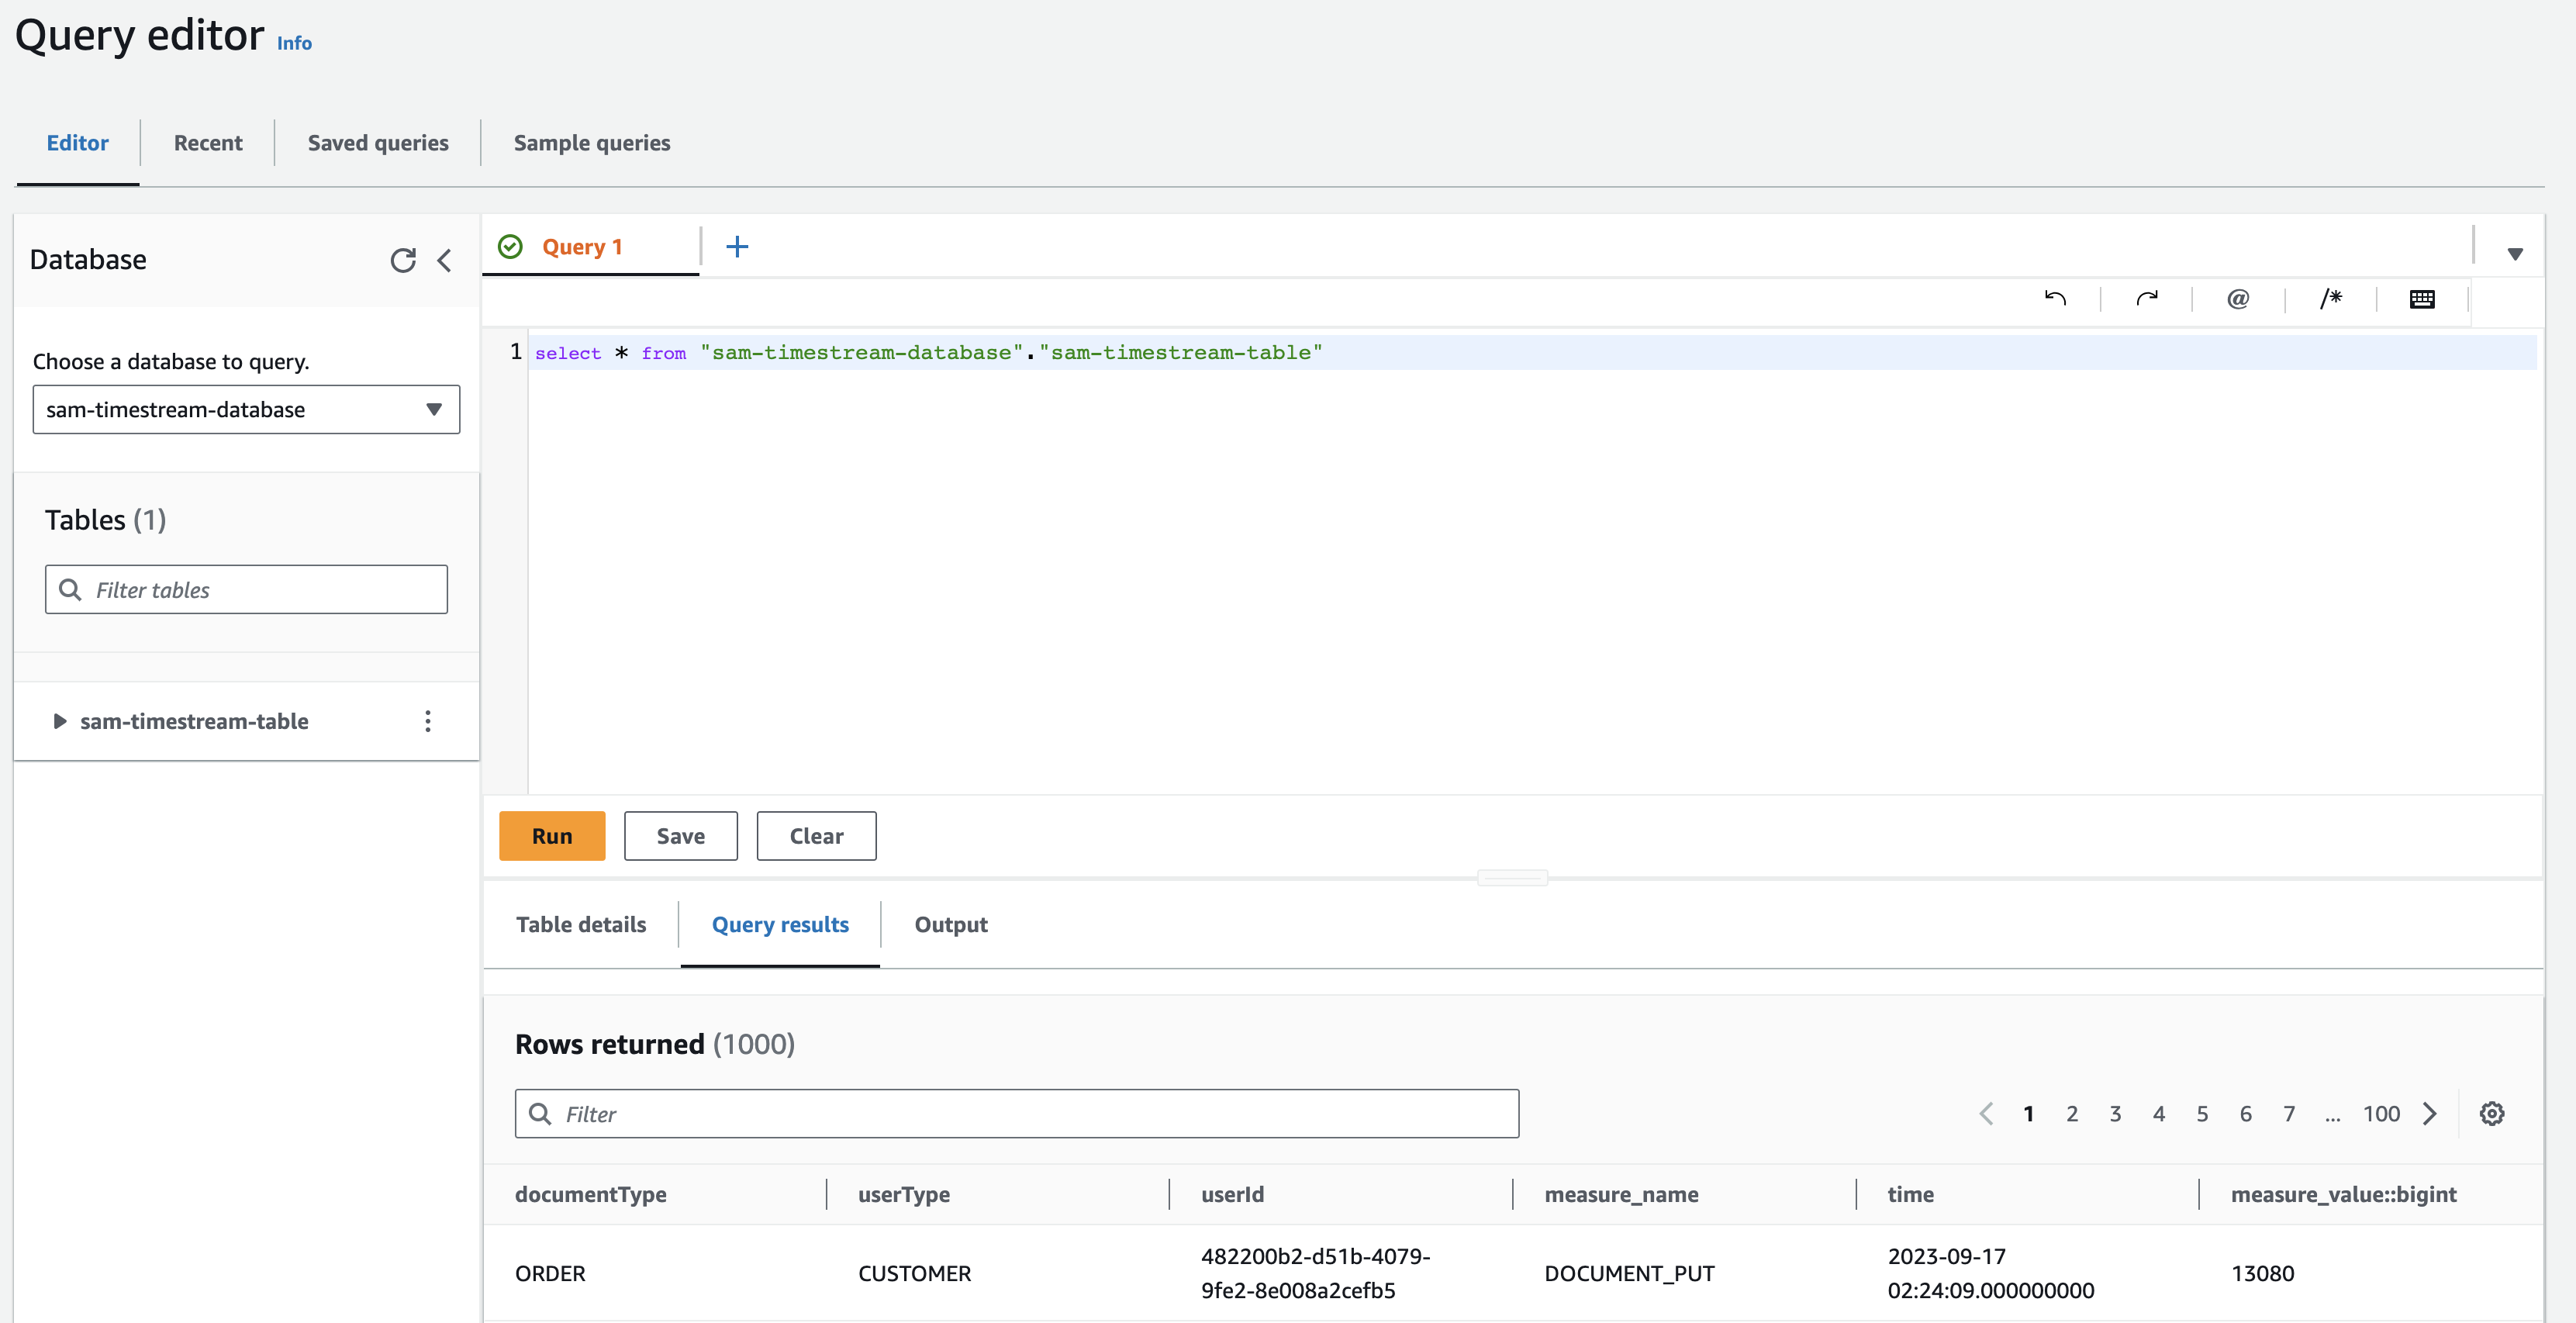
You have now populated your Timestream table with records and can view the data in the AWS Console using the Timestream Query Editor.

Request table
For this tutorial, we will execute a simple aggregate query:
1SELECT YEAR(time), SUM(measure_value::bigint), count(*), documentType
2FROM "sam-timestream-database"."sam-timestream-table"
3WHERE
4  time between '2023-07-01' and current_date + 1d
5  GROUP BY YEAR(time), documentType
6ORDER BY YEAR(time)
Script execution of query.ts:
1npx tsx query.ts
Aggregate results:
1[
2    {
3        documentType: 'ORDER',
4        year: '2023',
5        size: '6575787',
6        count: '134',
7    },
8    {
9        documentType: 'INVOICE',
10        year: '2023',
11        size: '6710194',
12        count: '145',
13    },
14    {
15        documentType: 'QUOTATION',
16        year: '2023',
17        size: '7439707',
18        count: '146',
19    },
20    {
21        documentType: 'QUOTATION',
22        year: '2024',
23        size: '9630998',
24        count: '194',
25    },
26    {
27        documentType: 'ORDER',
28        year: '2024',
29        size: '10037785',
30        count: '196',
31    },
32    {
33        documentType: 'INVOICE',
34        year: '2024',
35        size: '9329493',
36        count: '185',
37    },
38]
Summary
In this post, we learn how to deploy and manage an AWS Timestream database in a serverless environment using AWS SAM, populate the database with sample data, and perform basic SQL queries to analyze the stored time-series data.
I invite you to explore the following aspects of Timestream not covered in this tutorial:
- RetentionProperties (Memory and Magnetic)
- CompositePartitionKey
- Dimension
- MagneticStoreRejectedDataLocation
- Prometheus query & Grafana
- Complexe query (interpolation & functions)
WARNING: Remember to clean up AWS resources
1sam delete


